swift-개인프로젝트
swift - vapor로 DB를 활용한 로그인 구현하기 (1)
Coding_happyytw
2023. 7. 7. 23:25
우선 모델을 만든다.
import Fluent
import Vapor

final class User: Model, Validatable {
    static let schema = "users"

    @ID(key: .id)
    var id: UUID?

    @Field(key: "name")
    var name: String

    @Field(key: "password")
    var password: String

    init() { }

    init(id: UUID? = nil, name: String, password: String) {
        self.id = id
        self.name = name
        self.password = password
    }

    // validation이란 확인이라는 뜻이다.
    static func validations(_ validations: inout Validations) {
        validations.add("username", as: String.self, is: !.empty, customFailureDescription: "Useranme cannot be empty") // username은 비면 안된다.
        validations.add("password", as: String.self, is: !.empty, customFailureDescription: "Password cannot be empty")
        // between 6 and 10 characters
        validations.add("password", as: String.self, is: .count(6...10), customFailureDescription: "비밀번호는 6자리에서 10자리 사이다")
    }
}
validation이란?
https://happyytw.tistory.com/18
swift - vapor Validation이란
Vapor는 Validation API를 제공하여 클라이언트로부터 받는 request를 Content API를 사용하여 decode하기전에 확인한다. middleware하고 비슷한 느낌인거같기도.. middleware는 클라이언트로 받는 request를 중간에
happyytw.tistory.com
이후 Migration을 만든다.
import Fluent

struct CreateUsersTableMigration: AsyncMigration {
    func prepare(on database: Database) async throws {
        try await database.schema("users")
            .id()
            .field("username", .string, .required).unique(on: "username") // 중복을 불가능하게한다.
            .field("password", .string, .required)
            .create()
    }

    func revert(on database: Database) async throws {
        try await database.schema("users").delete()
    }
}
다음으로 migraion을 잊으면 안된다.
app.migraions.add(CreateUsersTableMigration.Migration())
다음으로 Controller를 만든다.
import Fluent
import Vapor

struct UserController: RouteCollection {
    func boot(routes: Vapor.RoutesBuilder) throws {

        let api = routes.grouped("api")

        api.post("register", use: register)
    }

    func register(req: Request) async throws -> RegisterResponseDTO {

        // validate the user // validations
        try User.validate(content: req) // req에 대해 검사한다.

        let user = try req.content.decode(User.self) // 검사에 문제가 없으면 decode한다.

        // find if the user already exists using the username
        if let _ = try await User.query(on: req.db)
            .filter(\.$username == user.username) // 만약 db에 이미있는 username이라면
            .first() {
            throw Abort(.conflict, reason:  "Username is aleeady taken.") // error발생
        }

        // hash the password // 비밀번호를 그냥 넣지 않고 hash로 함호화하여 저장한다.
        user.password = try await req.password.async.hash(user.password)
        // db에 저장하기
        try await user.save(on: req.db)

        // 여기까지 문제없이 실행되었다면 false를 Return하여 문제가 없음을 알려준다
        return RegisterResponseDTO(error: false)
    }


}
그리고 만든 controller를 configure에 추가한다.
try app.register(collection: UserController())
다음으로 이제 서버를 실행하고 해당 주소에 User 클래스의 필드 형식에 맞게 username, password를 입력하고 서버에 전송하면

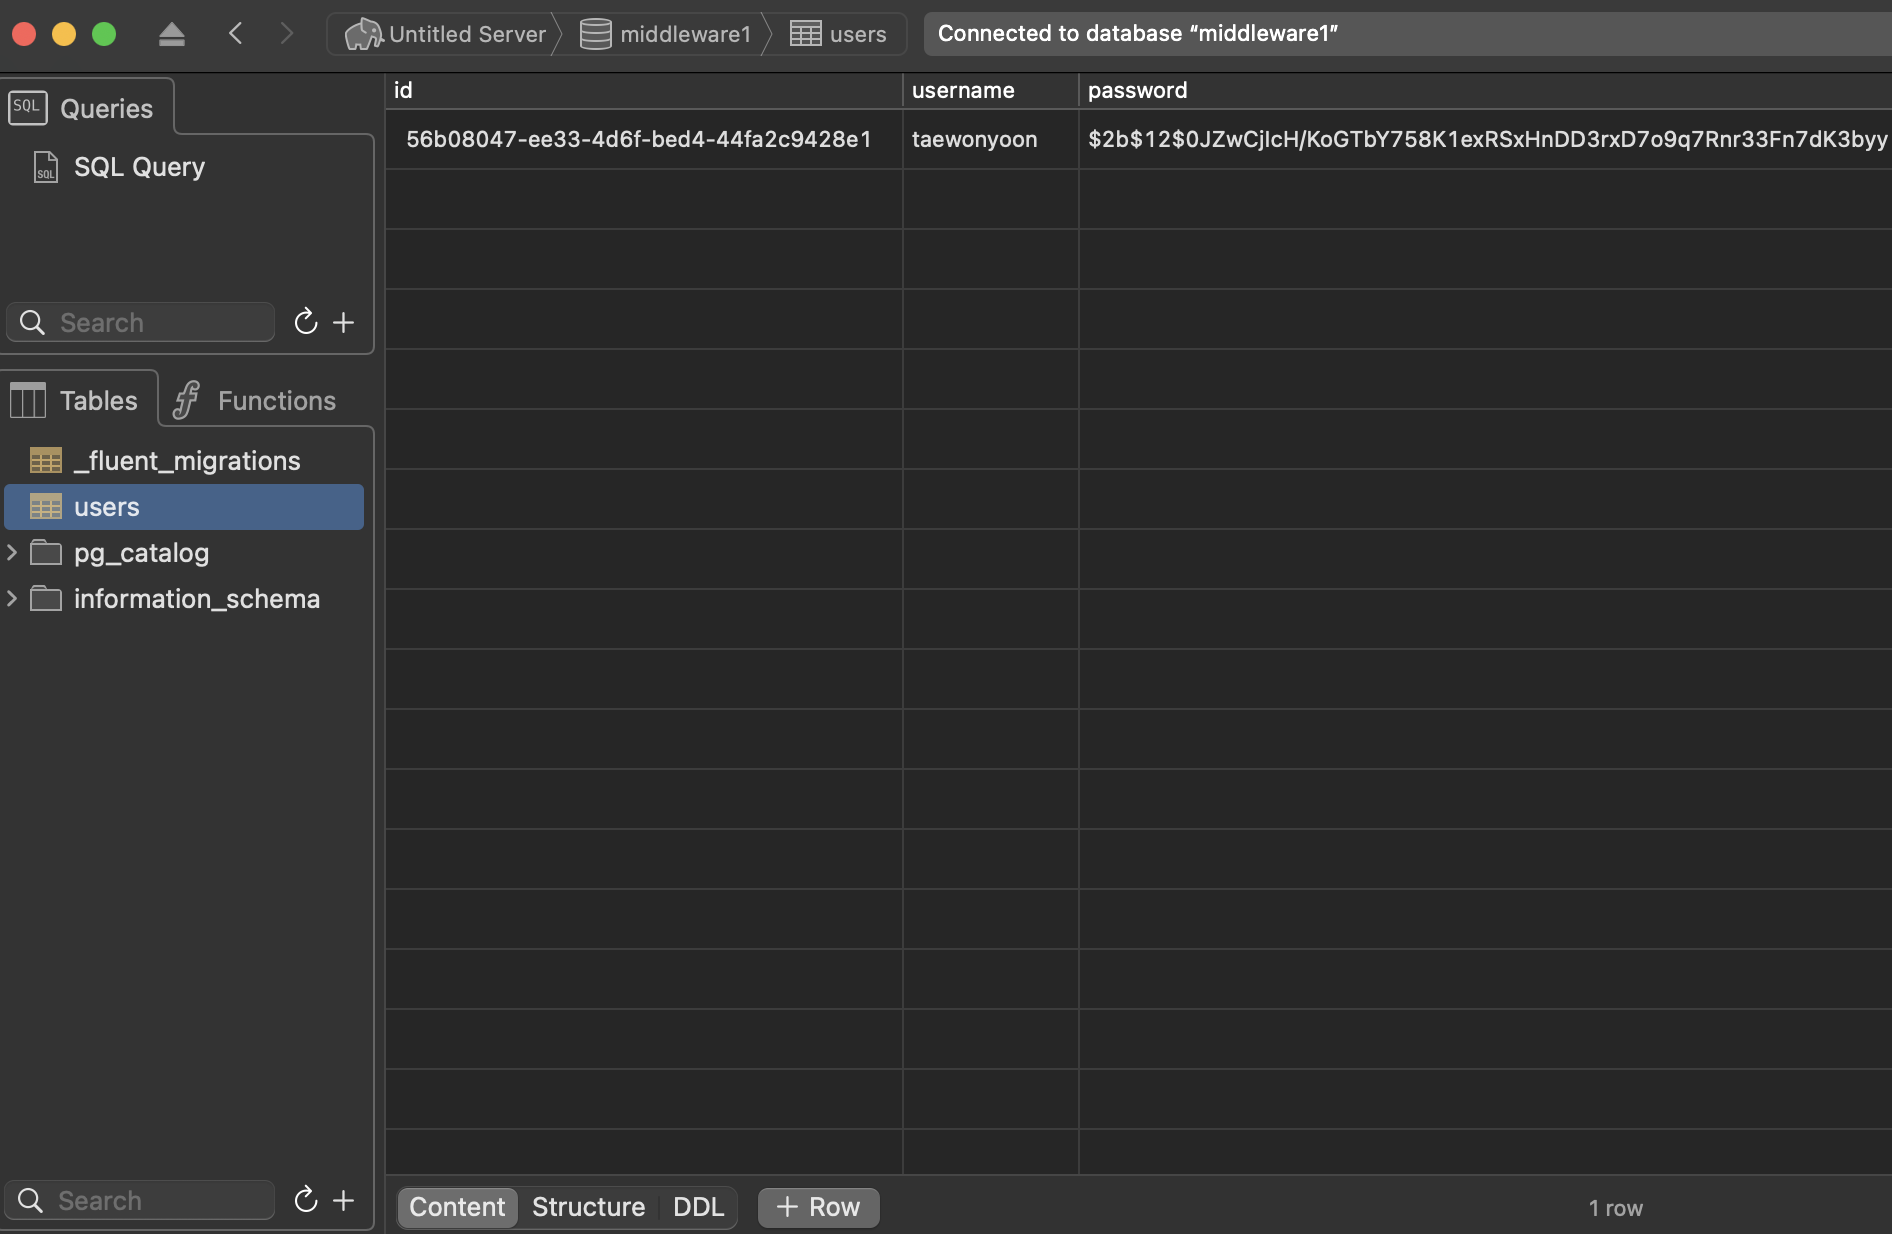
id하고 해시로 암호화된 password를 확인할 수 있다.
그리고 같은 이름으로 다시 요청을 하게된다면 에러가 발생한다.
